In my make-shift "light box" without natural light
With natural light
I was getting pretty bored of swatching lately and have been studying for an online lab exam this whole week (bleh!). I was looking at Chalkboard Nails (one of the many bloggers I follow) and found this awesome, super easy manicure! I also watched MrCandiipants' tutorial which was linked on that post. (MrCandiipants has looooads more cool manis on her tumblr. Check it out! ...And yes, I also follow her now too. ) I originally wanted to use only two colors for the flowers like the original and to save time, but I couldn't decide which pink to use so I used both! :D YEAH!
For my second time at nail art, I think this is actually pretty good! At first, I didn't think my mani looked so swell after doing it because of that humungous darker pink flower on my ring finger (a blob of paint fell off the brush :( ) and my messed-up leaves (have no idea how to shadow leaves). Or maybe I'm too much of a perfectionist... These pictures make me think I did a great job, though. *gives herself a pat on the back*
And sorry for the messy mani. I just couldn't wait to post it up!
What I used:
Base:
Sally Hansen Hard As Nails Strengthener (as a base coat) 1 coat
Sally Hansen White On 2 coats
Flowers, from left to right:
Color Club Poptastic
Color Club Warhol
Color Club Almost Famous
I will eventually do swatches of these Color Clubs. They are from the Poptastic Collection Summer 2010. As far as I know, you can purchase Color Club collections at Ross (if you're lucky enough to find them!) for a really cheap price (I think I paid $8 for this collection, but I'm not sure). A steal, huh?
Anthers (the dots on the flowers... Thank you, general bio!):
Migi Nail Art Pen Yellow Creme
Migi Nail Art Pen Red Creme
I will do a review on these soon. I just need to use them a bit more (which means more nail art! yay!) and see how the rest perform.
Leaves:
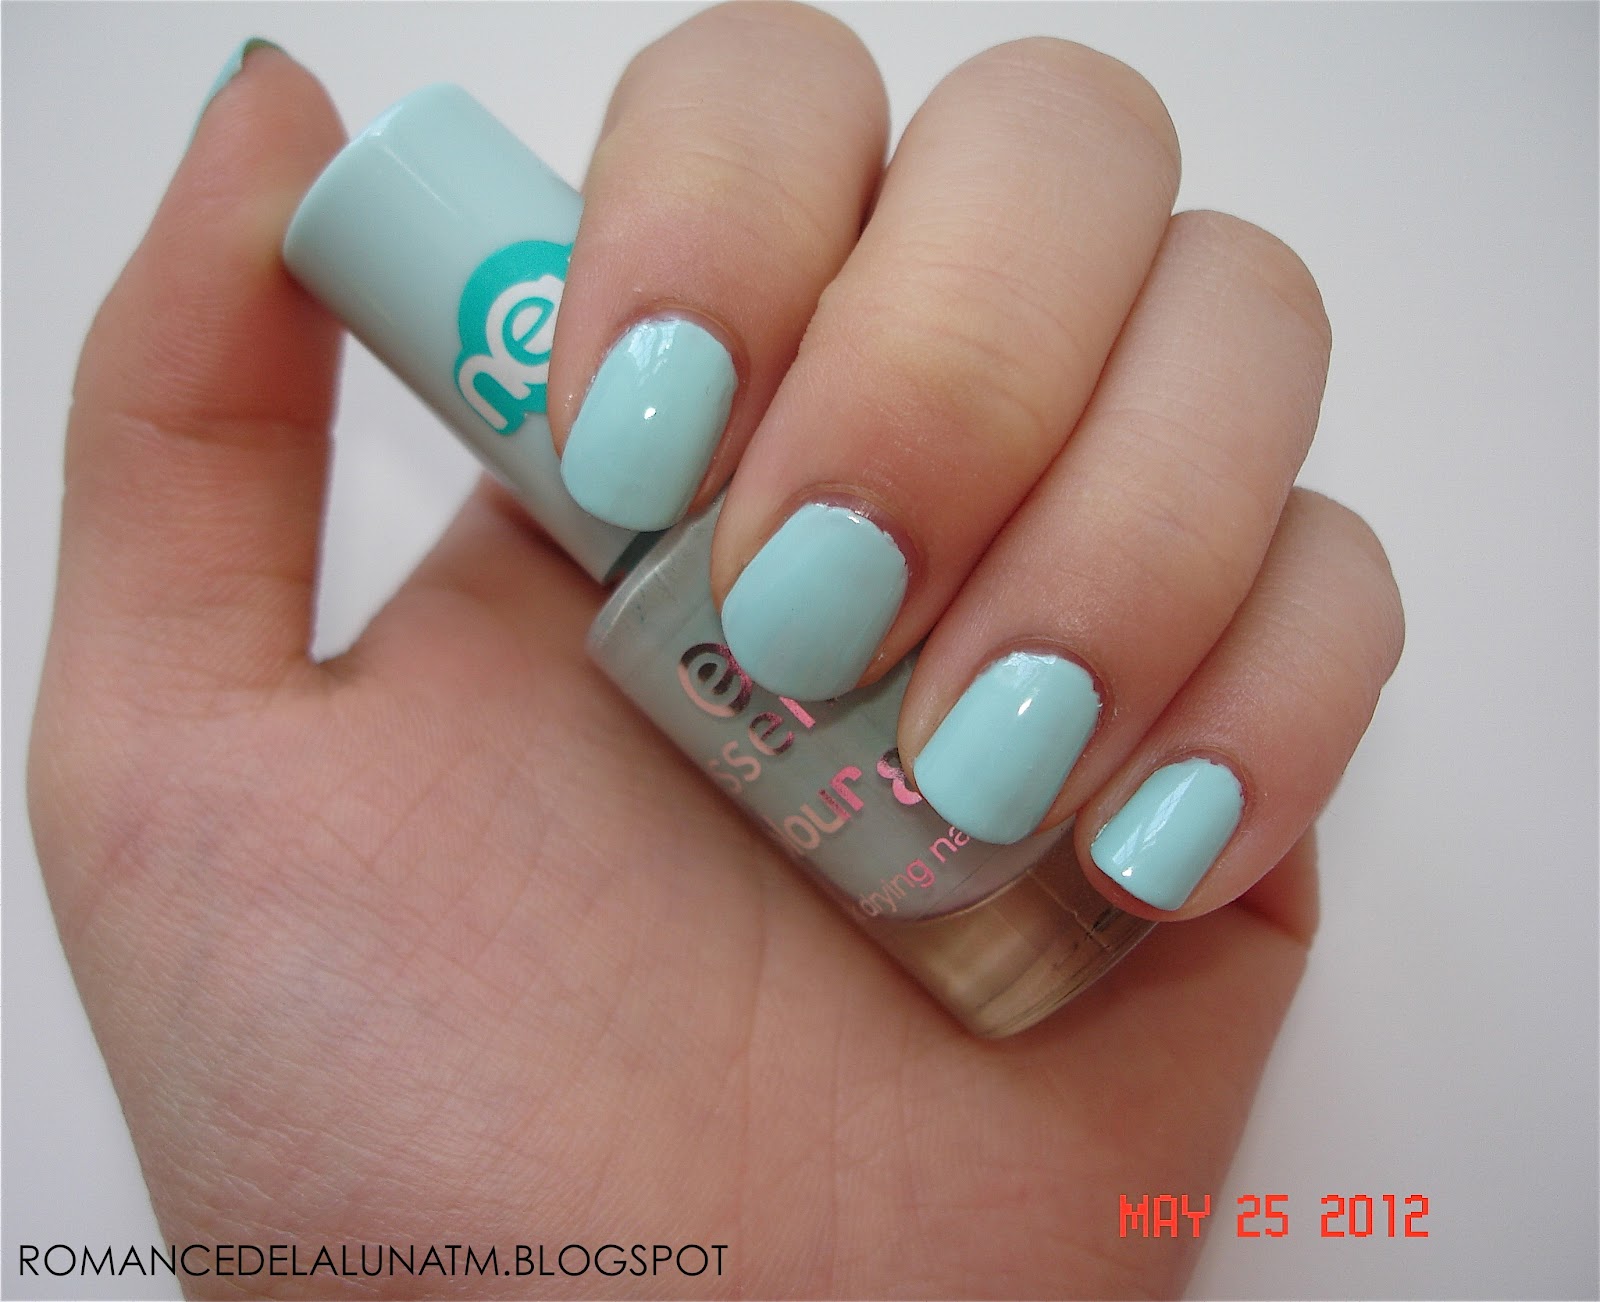
Essence Lime Up!
Migi Nail Art Pen Green Creme
If you guys are wondering, these were taken with my dad's old digital camera. Maybe I can ask to have it and finally own a camera?! :D
By the way... If anyone is having trouble following new blogs that you've found because of Blogger's new format (like I did... :x), just go to your blogger homepage and look for the bar to the left of the area that shows followed-blog updates. There should be a button above "All Blogs" that says "Add". I just added some new blogs to my blog list and apparently you can add wordpress- and typepad-based blogs too! (I don't think Blogger had that option before.)
I hope you guys have an awesome weekend! See you guys on the other side of the day!
- M