Showing posts with label review. Show all posts

Saturday, August 30, 2014

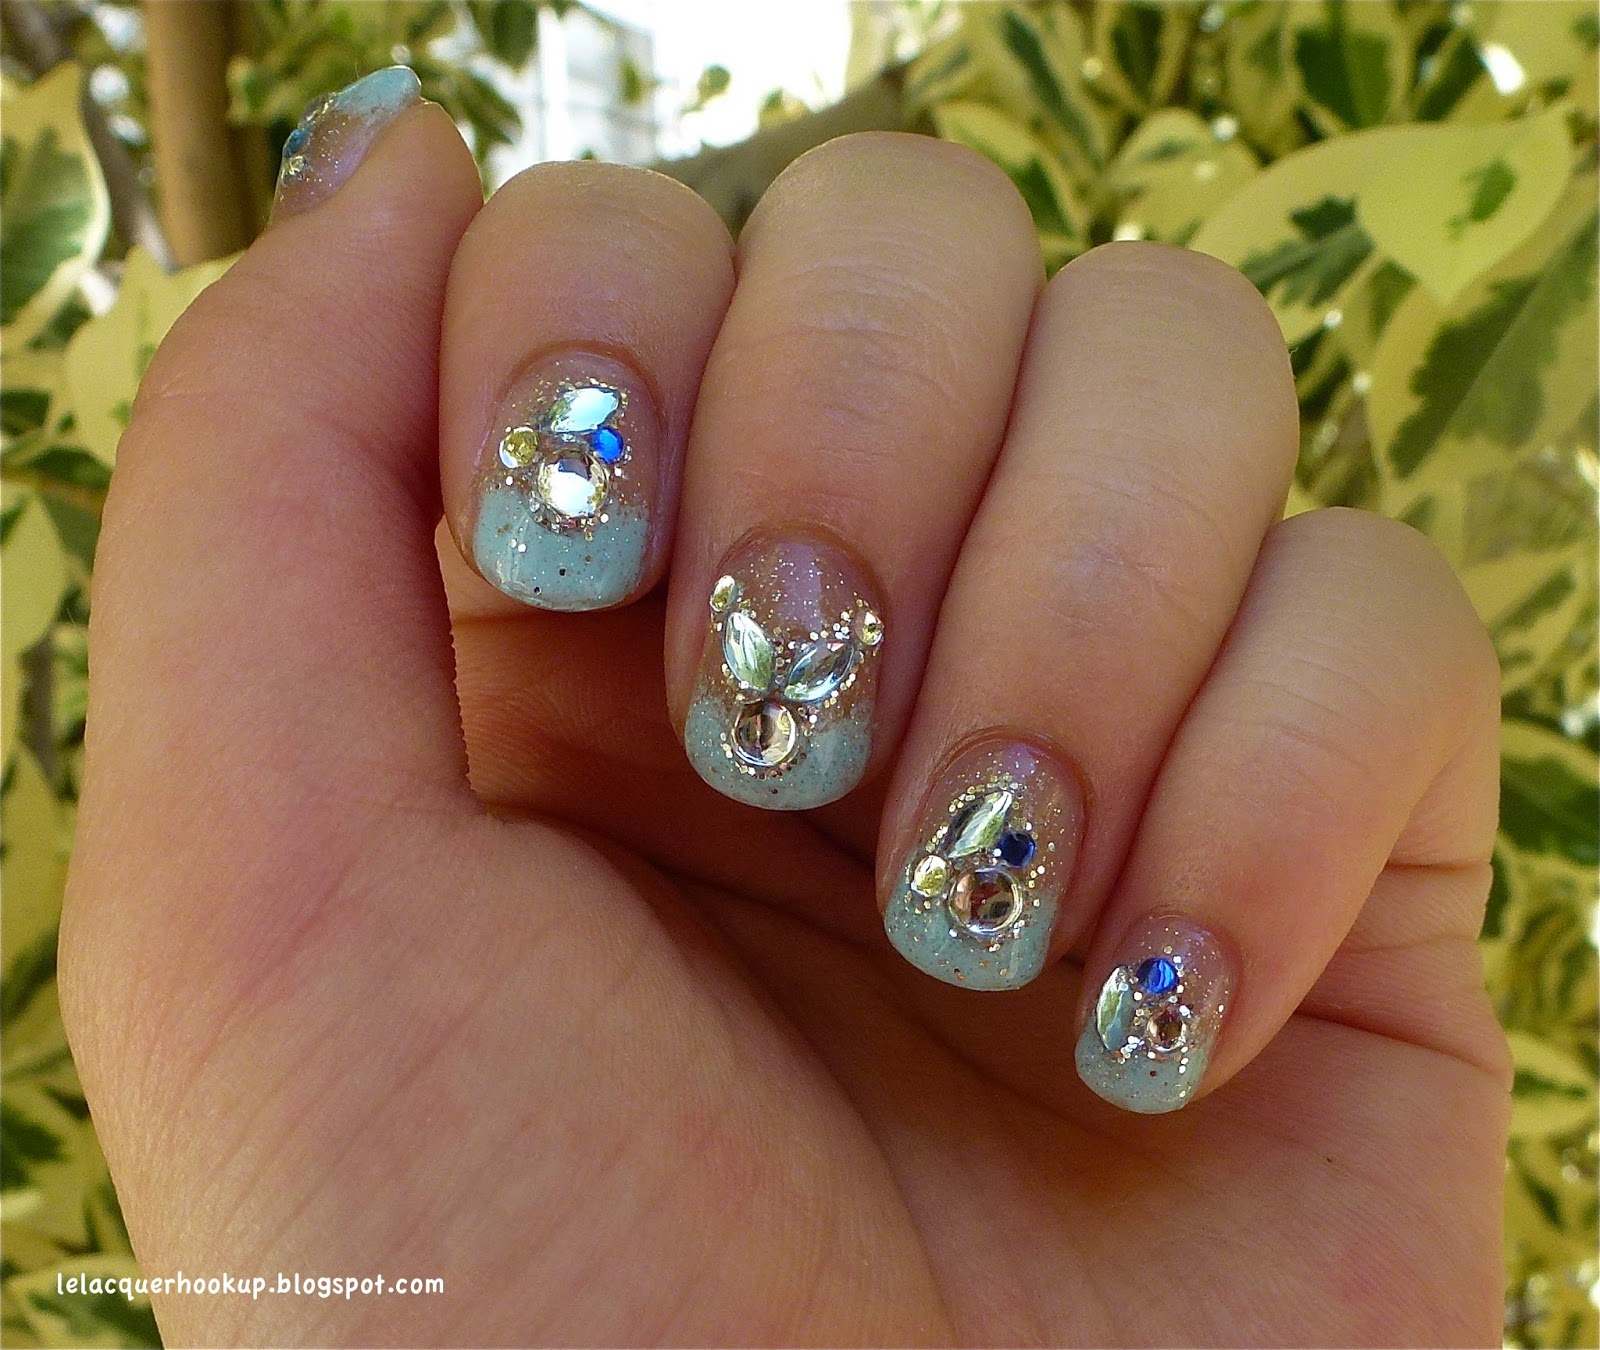
El Hielo

Self-purchased

El hielo: (Spanish) noun. ice


I sponged Sally Hansen Barracuda onto the tips to create a gradient and then topped it off with China Glaze Fairy Dust to smooth the gradient out and add some pretty sparkles. After it was relatively dry, I carefully placed on some rhinestone decals from Daiso with the included cuticle stick. I used two coats of top coat over the decals to ensure they wouldn't pop off easily. I wore this mani for three or so days, but could have worn it for at least one week!


At Daiso, there are loooads of these rhinestone decals in various designs that can be used for either the nails or toes. Since there were only $1.50 each, I stocked up on a whole bunch. (Also, I don't go to Daiso very often... Only when I'm in the area. :( ) These decals are VERY good quality! The rhinestones don't get cloudy after one or two coats of top coat and remain shiny. I could still see some of the facets on the rhinestones! (The other loose, cheap rhinestones I usually use get very cloudy after I top-coat them.) As I mentioned above, the decal packets contain a cuticle stick to help remove and place the decals. I preferred using the slanted tip when removing the decals because the slant provides a resting place for them and helps you control their placement. The decals are a little delicate so it's best not to apply too much pressure when removing them from the plastic backing. The decals are just sticky enough to adhere well on the nail so they won't cling to your fingers. :) I definitely recommend these decals because they are worth every penny!

Thanks for looking! See you on the other side of the day! 

Michelle 

Saturday, August 9, 2014

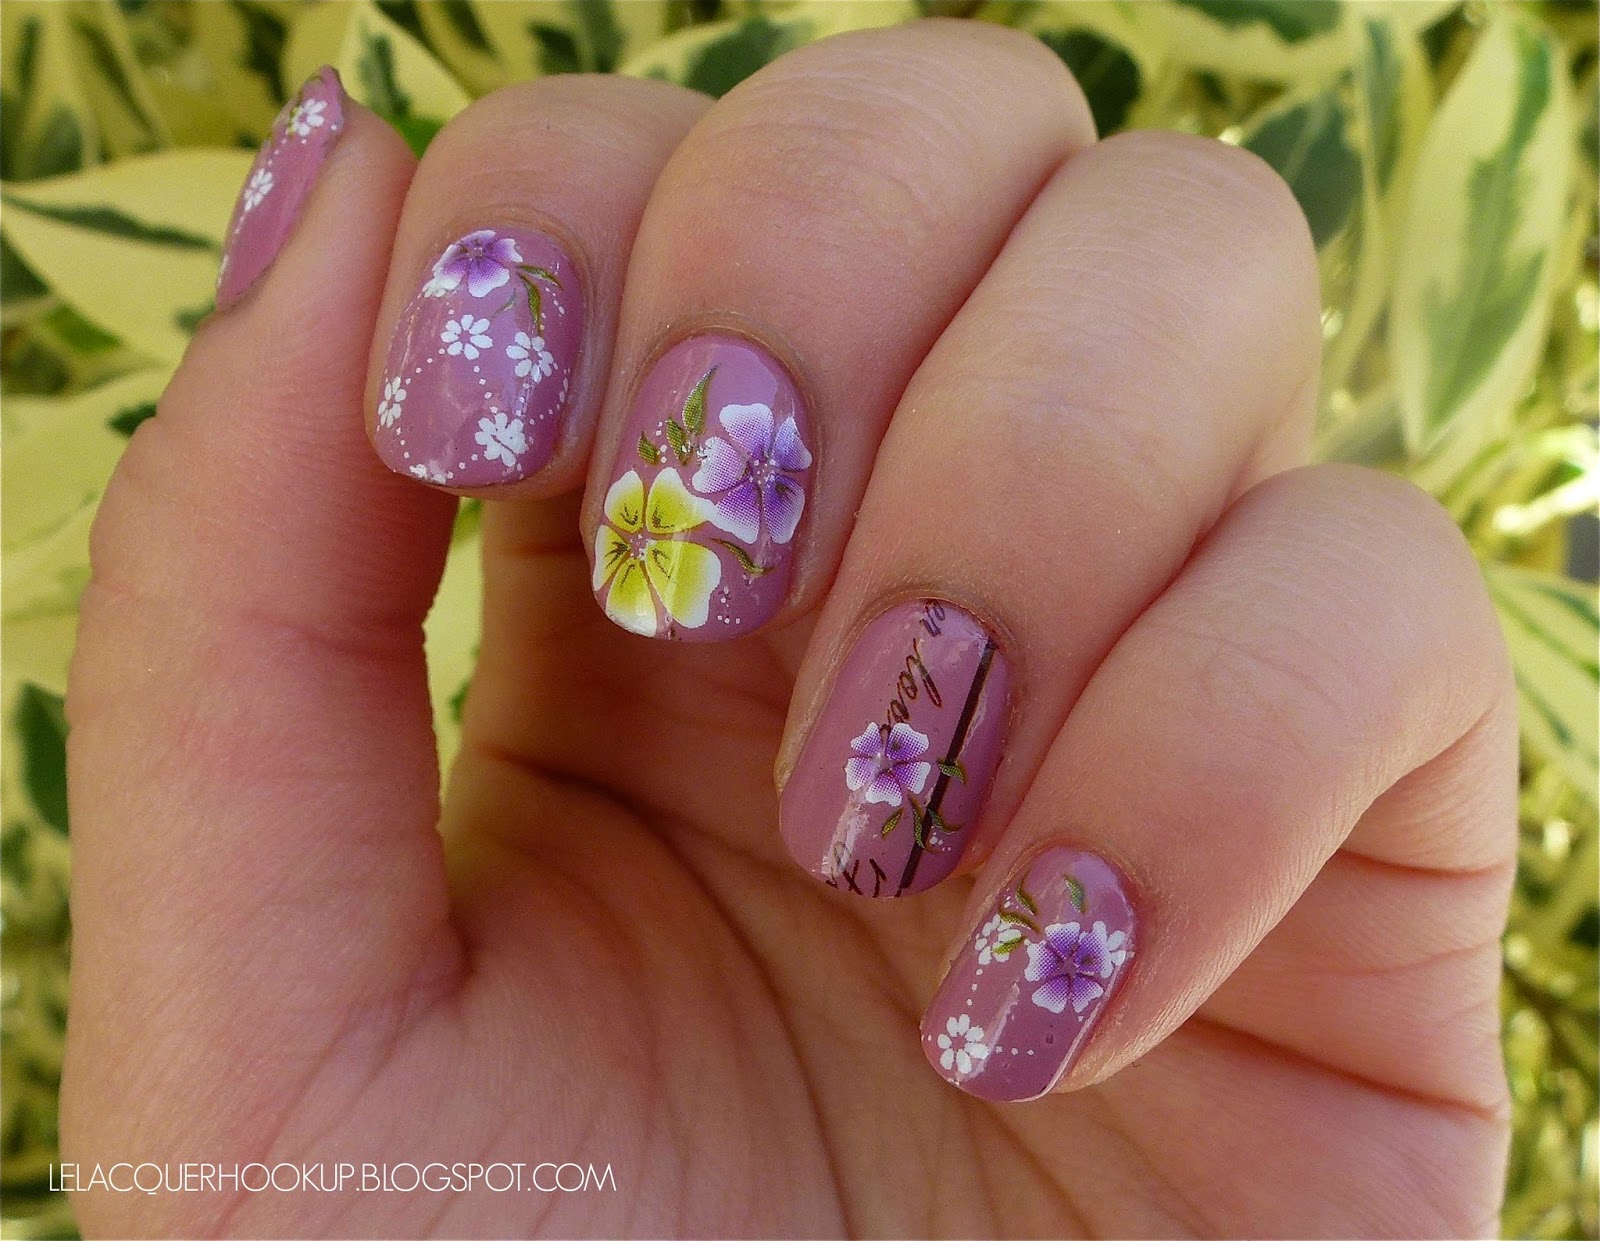
Born Pretty Store Gridded Flower Pattern Water Decals in Y001

Self-purchased, *Sent for review


I used Formula X Dynamite as my base color. After it was completely dried, I cut out enough of the Born Pretty Store gridded flower pattern water decals in Y001* to cover half of my middle and ring fingers. I soaked the water decals for 10-20 seconds in room-temperature water and dabbed the excess water onto a paper towel. Then, I used my fingers to gently remove the water decal from the paper backing and place it onto my accent nails. I used a silver glitter stripper from Kiss to line the edge of the water decals and make dots near the cuticles on my thumb, index, and pinky fingers.


These decals were very easy to use and weren't transparent. I believe it's possible to use these over dark base colors. I found it easiest to remove the excess after applying top coat because it sort of "melts" the water decal so that I was able to pull the excess away with my fingers. There was no need for acetone or nail polish remover! :D 

You can purchase these gridded flower pattern water decals in Y001* here. Born Pretty Store stocks a large variety of nail art decorations and tools. (They also stock stationary and fashion accessories, among many other items!) You can check out their new nail art-related arrivals here. Don't forget you can also use my code NFX31 for 10% off your order! :)


Thanks for looking! See you on the other side of the day!

Michelle

*Products were sent for review. I am neither compensated nor influenced in any way. As always, my reviews are 100% honest. For more information, please see my disclosure policy.

Thursday, April 10, 2014

Vintage Floral Nails with Born Pretty Store Water Decals

Self-purchased, *Sent for Review

Today, I have some pretty vintage floral nails for you! Born Pretty Store kindly sent me three different packs of water decals for review.  I decided to do this mani spontaneously so I cut and placed the water decals randomly. I'm glad it still turned out wonderfully! 

First, I made sure to cut out the decals I planned to use. Then, I used Zoya Zanna for my base color. After it dried, I soaked the decals for 10-20 seconds (a detailed review after these pictures!). I made sure to remove the excess water on the decals before transferring them onto my nails and smoothing them out. I finished the mani off with a fast-dry top coat.


Born Pretty Store generously allowed me to choose what I wanted to review for them so I chose floral water decals in Y174*, Y001*, and G005* (all shown below). I'm sure you all know how much I love floral manis by now!


Left to right: Y001, G005, Y174

Y001 (Sorry it's a bit hard to see!)

G005

Y174

All three water decals performed similarly. The transparent backing of the water decals didn't cover the whole sheet, but instead surrounded the image. Because of this, you don't have to make sure you cut as close as possible to the decal image since the extra transparent backing won't damage your mani's appearance. If you do end up with excess transparent backing, however, then you can file it off easily. (I like to do this after I top coat the decal so it can't change its position.) The instructions say to soak the decals in water for 10-20 seconds, but I recommend doing so for only 10 seconds. I had to remove a lot of excess water when I soaked a few of them for 20 seconds so my fingers got really wet, which made it harder to position the decals and gently pat them dry. I recommend using tweezers to help you position the decals because it was hard to do so using just my fingers. Also, don't worry if the decals scrunch up a little on your nails! Top coat smooths them out really well.

Born Pretty Store offers an amazing selection of good quality nail art tools and accessories for cheap! (More here!) They also offer nail polishes, fashion accessories,  and stationary, among many other items. They also have free shipping! (If you would like a tracking number, then you will need to pay $3. I recommend paying for a tracking number because you can resolve any problems you might encounter while waiting for it.) I shopped at Born Pretty Store even before I was asked to review for them, and all my experiences have been great. However, they are based in China so shipping can take a while.

You can use my code, NFX31, for 10% off your purchase! (Because you will probably end up getting a "few" things... ;) )


Thanks for looking! See you on the other side of the day!

Michelle

*Products were sent for review. I am neither compensated nor influenced in any way. As always, my reviews are 100% honest. For more information, please see my disclosure policy.

Thursday, March 13, 2014

NYC New York Color Matte Me Crazy

Self-purchased


NYC New York Color Matte Me Crazy is a matte top coat that's easily accessible and cheap! I used 1 coat over Jordana Carnival after topping Carnival with Poshe Fast Dry Top Coat and waiting for it to dry a bit. I'm actually very pleased with the results - I didn't expect much because it was so cheap and not as popular as the Essie matte top coat in the blogging world. Matte Me Crazy had a good formula and dried quickly and to a smooth finish (though the fast-dry top coat could have also played a big part in smoothing out Carnival). The matte effect only took a few seconds to materialize. However, I did have to be careful of potential brushstrokes, which I minimized by applying Matte Me Crazy slowly and evenly. It can also have leveling problems if it's not applied carefully. I'm not sure how Matte Me Crazy will look on light-colored bases, but I do know that dark-colored bases tend to magnify any unevenness matte top coats make. The unevenness is shown more easily on my right hand (not shown because it's hard for me to photograph my dominant hand). I really like the contrast to the shiny glitters in Carnival that Matte Me Crazy provides. I will definitely take it out to play with more!

Thanks for looking! See you on the other side of the day!

Michelle