Today, I have a mani swap with my friend, Millie, from The Nail Smith to show you guys! You guys may recognize her from her tumblr as she used it as her blogging platform before switching to her blogspot, which is now her main blog. We decided to do a mani swap for fun and as a way to welcome her to the world of Blogger!
Millie is often known for her detailed free-hand nail art. I decided to go for relatively simple nail art because I was afraid I wouldn't be able to do her intricate nail art justice. I chose her Glitter Placement manicure (also shown near the end of this post) because I knew I could certainly accomplish it and had the same or similar polishes. Looking at my pictures now, I actually still need to work on my glitter placement skill. The glitter placement was not nearly as aligned as Millie's!
For the base, I used Sinful Colors Rise & Shine, the same base that Millie used. I finally got the chance to wear Rise & Shine again, and fell in love with it all over again! For the thumb and ring fingers, I free-handed the diagonal color block using the brush from Misa A Sin Worth Committing. It's a really stunning dark blue shimmer that I'm just itching to swatch and wear! I used a small dotting tool to pick out glitter individually from Milani Silver. This mani made me realize how much I really NEED individual glitter pots... Doing
glitter placement with glitter from a glitter polish is quite hard!
Check out Millie's craftsmanship below!
You can see her execution of my Ice Cream Drops mani here. I really enjoyed doing this mani swap with Millie. I hope I can work with her again in the future! :)
Thanks for looking! See you on the other side of the day!
Michelle
Friday, June 27, 2014
Thursday, June 26, 2014
Essie Mint Candy Apple + Sally Hansen Bold Gold
Self-purchased
Essie Mint Candy Apple is a blue-mint creme that pulls more blue on me. I used 3 coats. The formula was good, but slightly thin and runny. However, I didn't have any problems with the application. It dried shiny. No top coat.
Sally Hansen Bold Gold has gold and black hex and bar glitter in a clear base. I used 1 coat. The formula was pretty terrible. It has a thick clear base and the glitter was a bit sparse so I had to dab it on my right hand. The dabbing created bubbles so I decided to sponge it on my left hand. It was easier, but still fairly difficult. The bar glitter was longer than average so I had to move them around so they would fit on my small nails; fortunately, they aren't stiff so you can make them lie flatly. In short, this glitter topper was annoying to apply straight from the bottle. I would definitely pass on it. It dried slightly gritty. With top coat.
Thanks for looking! See you on the other side of the day!
Michelle
Tuesday, June 24, 2014
COVERGIRL Salt Water Taffy + Rose Water Decals from KKCenterHK
Self-purchased
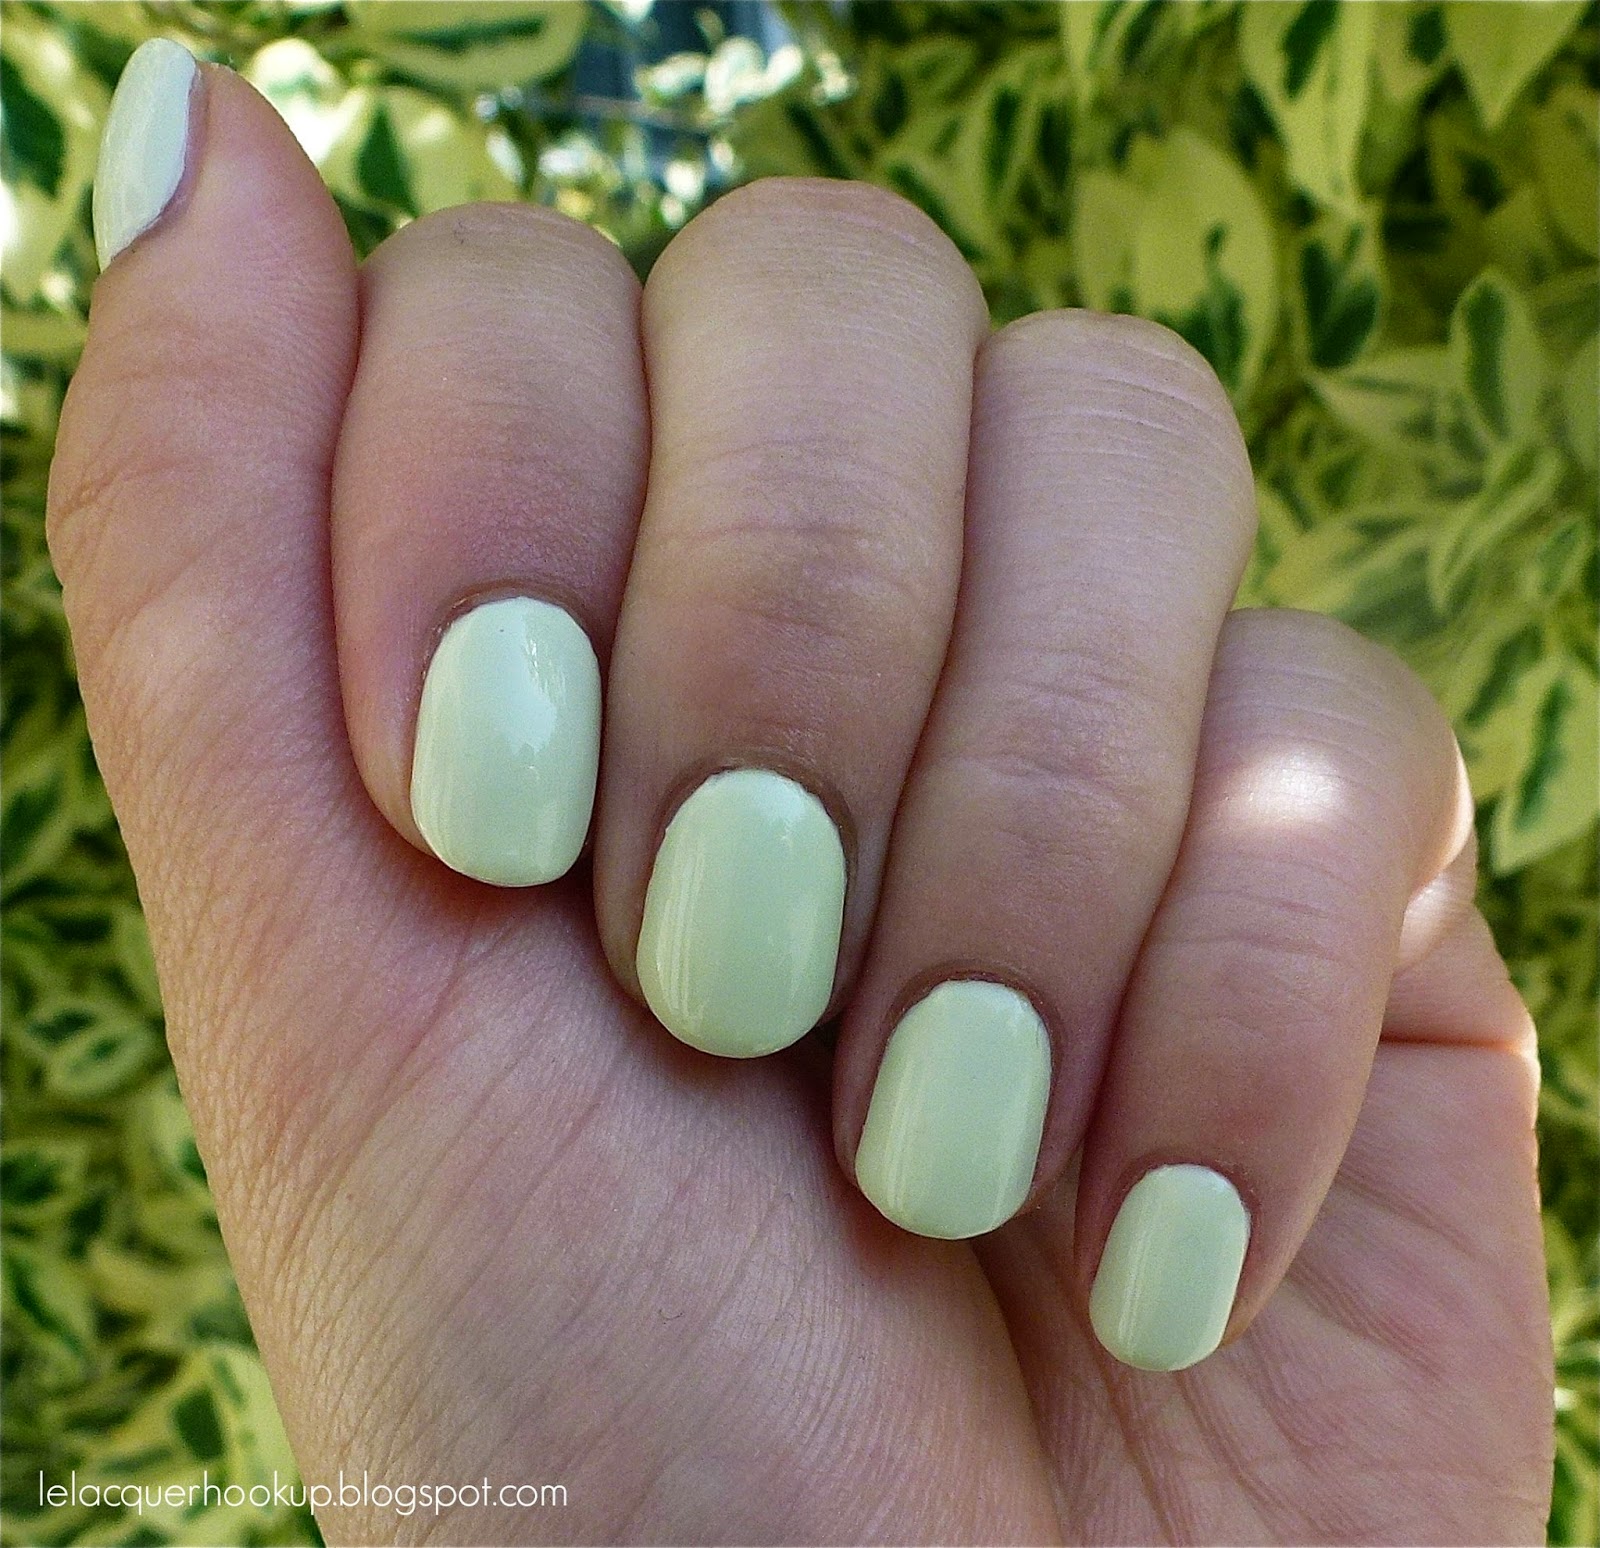
COVERGIRL Salt Water Taffy is a very pale pastel green creme. It reminds me a lot of Essie Absolutely Shore because of its paleness, but the two are not at all similar in color. Salt Water Taffy has yellow undertones while Absolutely Shore is a very pale seafoam. I used 3 coats. The formula was delightfully creamy, but runny so the application was tricky. It dried with a nice shine, but I still used top coat.
After several days, I decided to apply two rose water decals I got from KKCenterHK a long time ago. It was a great way to extend my mani too! In the center of some of the roses is gold glitter. These water decals apply very easily. All you have to do is soak them in room temperature water for 30 seconds, gently rub them off the paper backing, and then use tweezers to place them onto your nails! (You have a little bit of time to move the decal around on your nail before it dries.) Just be sure to take off the plastic covering before soaking them! If you happen to have any wrinkles in the water decal, then a good top coat should be able to smooth them out so don't worry. :) These water decals also remove very easily, and last until you remove them.
Thanks for looking! See you on the other side of the day!
Michelle
Thursday, June 19, 2014
Winmax Nail Sparks #9
Self-purchased
Winmax Nail Sparks #9 is a delightful golden beige glassfleck packed with holographic shimmer. It's super duper sparkly! Like golden fairy dust! :D I used 3 coats because it was sheer and I needed to cover up some staining, but it looks just as wonderful with 1 or 2 coats. I think it'll be great for shimmery gradients because it's so sheer. I would say it's in the same vein as Picture Polish Majesty based on swatches I've seen. The formula was great and easy to apply. It dried quickly with a nice shine, though I still used top coat.
You can purchase Winmax nail polishes, which are housed in 8-mL bottles, for $1.50 each at Daiso, a Japanese dollar store with many locations overseas. (Unless marked, all items sold at Daiso are $1.50 each.) However, selection varies across stores.
Thanks for looking! See you on the other side of the day!
Michelle
Tuesday, June 17, 2014
Color Club Holiday Splendor + Essie First Timer
Self-purchased
Color Club Holiday Splendor (index and middle fingers) has holographic silver glitter in a vibrant green jelly base that has hints of blue to it. I used 3 coats because I wanted depth. It could have definitely been a 2-coater though (albeit with some visible nail line). The formula was amazing! It was easy to apply and control, extremely pigmented, and packed with glitter. I adore Holiday Splendor! It dried gritty so I applied top coat.
Essie First Timer (ring and pinky fingers) is a vivid peppermint green creme. I used 3 coats. The formula was creamy, though a little thin. Nevertheless, it was easy to control. It dried shiny, but I still applied top coat.
Thanks for looking! See you on the other side of the day!
Michelle
Essie First Timer (ring and pinky fingers) is a vivid peppermint green creme. I used 3 coats. The formula was creamy, though a little thin. Nevertheless, it was easy to control. It dried shiny, but I still applied top coat.
Thanks for looking! See you on the other side of the day!
Michelle
Thursday, June 12, 2014
OPI Don't Burst My Bubble
Self-purchased
OPI Don't Burst My Bubble is a sheer, milky white with a tinge of pink. On my nails, however, it pulls fairly pink. I used 3 thin coats. The formula was truly magical. It wasn't a streaky mess like most sheers tend to be and was a breeze to apply. I wish all sheer nudes could be like this! It dried shiny and quickly, though I still used top coat. Unsurprisingly, Don't Burst My Bubble is one of my most-used polishes.
Thanks for looking! See you on the other side of the day!
Michelle
Tuesday, June 10, 2014
Polish Me Silly Grape Intentions
Self-purchased
In its cold state:
Polish Me Silly Grape Intentions is a sheer magenta-to-purple jelly thermal with magenta and purple holographic glitter. I used 4 thin coats to ensure that both its warm and cold states would be opaque. The transition between the cold and warm states was very quick so I had a hard time capturing them. The formula was thin and slightly watery and required dabbing and some fishing. I had to be careful while dabbing, lest I accidentally wipe the glitter off. Some of the pigment wasn't mixed so I had to vigorously shake the bottle. However, I was able to easily control the polish so I wouldn't say the formula was bad; it just needs to be spoiled. It dried quickly and bumpy so I still applied top coat.
Polish Me Silly was formerly known as Lush Lacquer. I purchased this Grape Intentions mini from their Etsy store. Minis (9 mL! :O ) retail for $6.50 while full-sized polishes (15 mL) retail for $10.50.
Thanks for looking! See you on the other side of the day!
Michelle
Thursday, June 5, 2014
Essie Fashion Playground
Self-purchased
Essie Fashion Playground is a fresh mint creme with hidden silver shimmer, which is best seen in direct light. It's super pretty and I wore it for a whole week! I used 3 coats. The formula was somewhat thin and runny, which made the application a little tricky. It dried shiny, but I still used top coat.
Thanks for looking! See you on the other side of the day!
Michelle
Tuesday, June 3, 2014
Essie Playa del Platinum + Sally Hansen Golden-I
Self-purchased
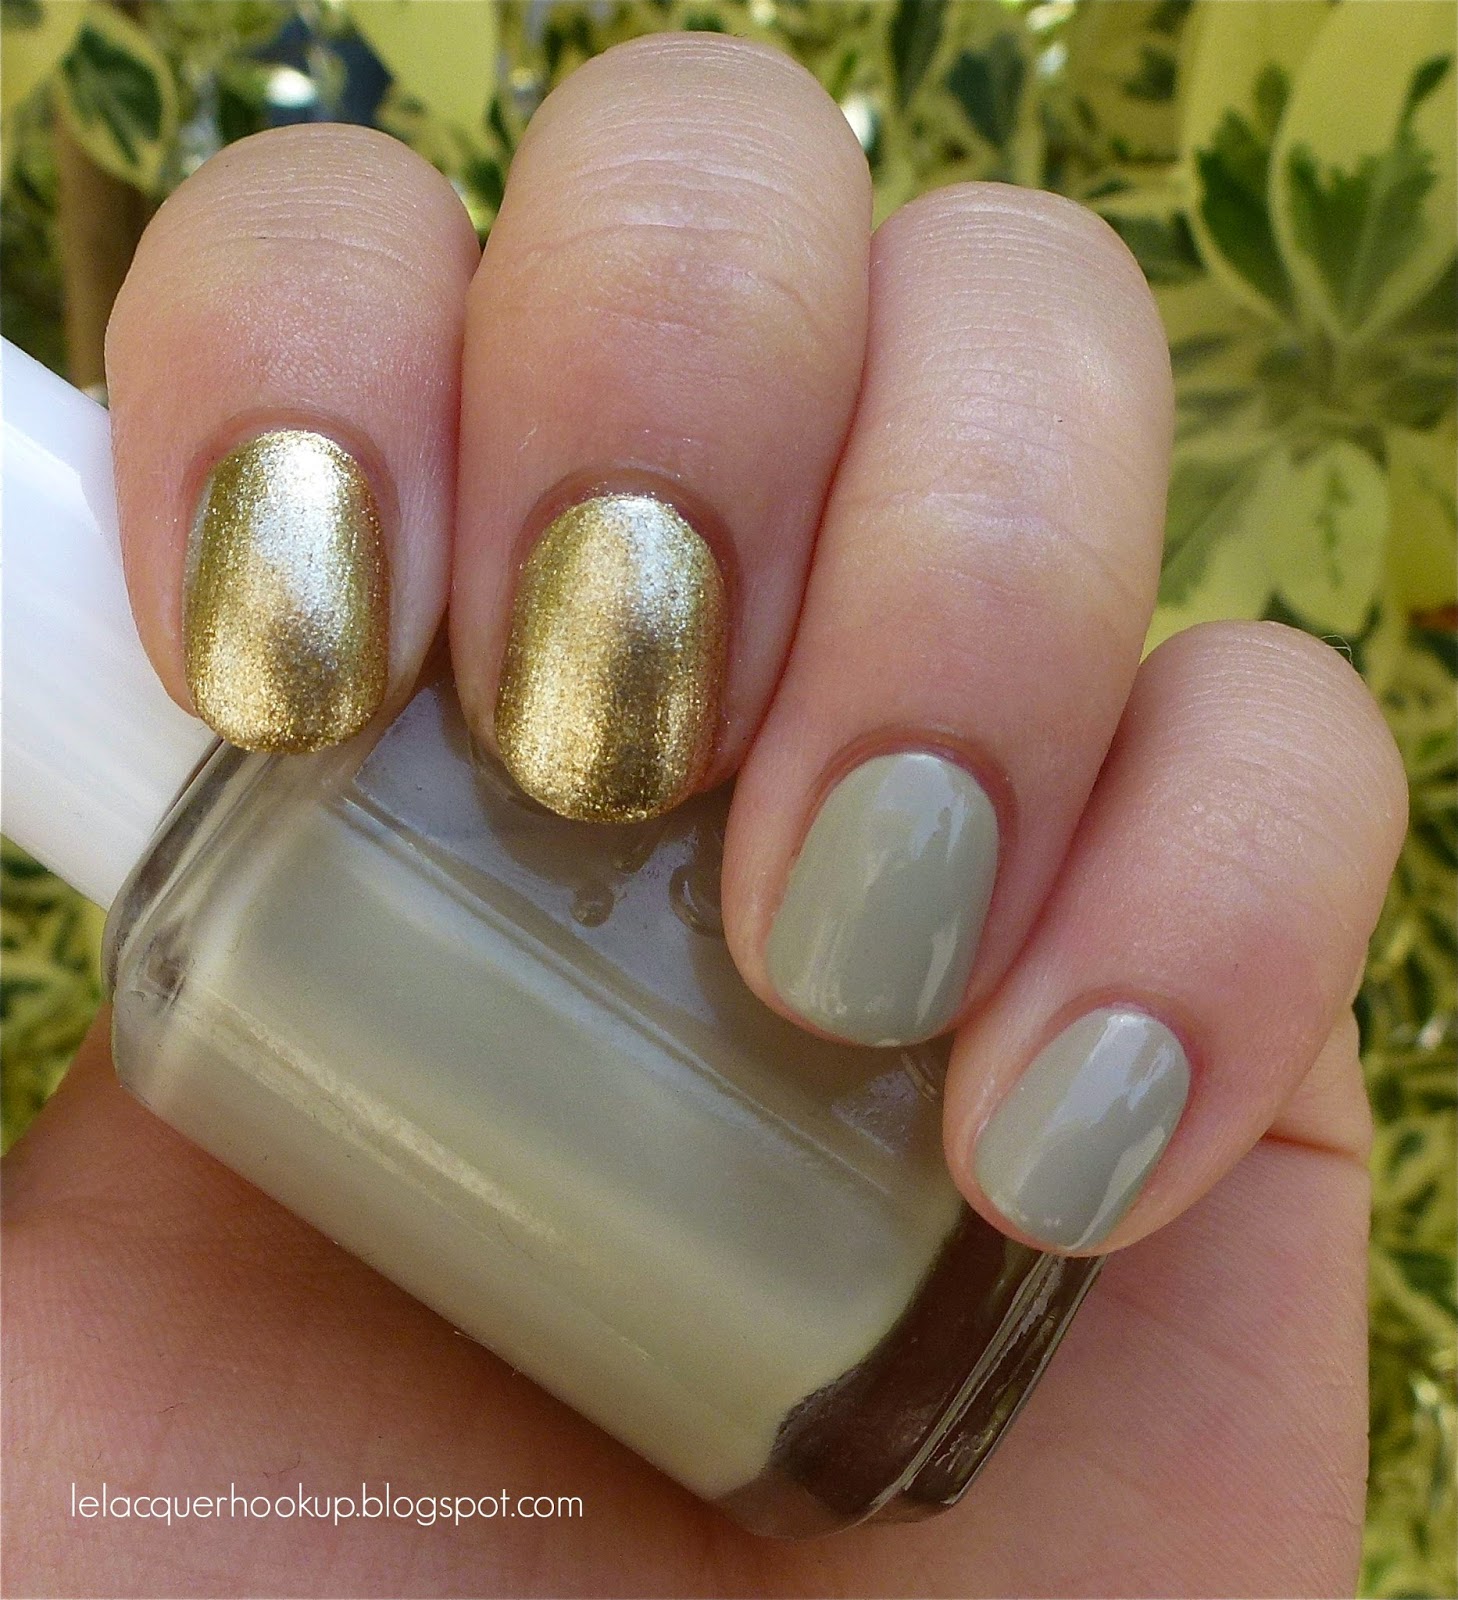
Sally Hansen Golden-I (index and middle fingers) is a cool-toned gold foil. I used 4 coats in case it showed up patchy on camera, but I could have definitely gotten away with only 3 coats. The formula was great and easy to control, which I find standard for many of my Sally Hansen polishes. It dried very reflective. With top coat.
Essie Playa del Platinum (ring and pinky fingers) is a sandy grey/greige creme. I actually really like greige (a word blend of "grey" and "beige") - it's a shame I don't have more of them! I used 3 coats; the first coat was sheer so I used medium thick coats on my last two. The formula was thin and watery, which made it troublesome to apply. I definitely had to do some cleanup. It dried shiny, but I used a fast-dry top coat to make sure all the layers dried properly.
Thanks for looking! See you on the other side of the day!
Michelle
Subscribe to:
Posts (Atom)


